
This blog shows how to create a custom Google Gemini AI component for Total.js Flow, enabling you to integrate AI-powered text generation directly into your workflows. It covers everything from setting up the component to configuring its API key, models, and output for real-time AI responses.
How to create Google Gemini AI component in Total.js Flow
We live in the times, where everyone wants to use AI everywhere. It can be very useful for many cases and I think, that if you work with Flow application from Total.js, you ask yourself at least once a question “Can I use AI here?”. Let's be honest, I do not know what is your use case, but I know how you can get your Google Gemini AI component to your Flow and now I will show it to you.
Installation of Flow application
If you are here, I am sure, that you know how to install Flow, so I am not going to explain it here step by step. But if someone is completely new here, please go to one of my older blog posts about installing the Flow application (This blog was meant for the installation of Flow for the IoT platform, but you can go just through installation and then skip the rest of the blog).
Create a new component
Now, we need to click on the green plus button for create a new component.
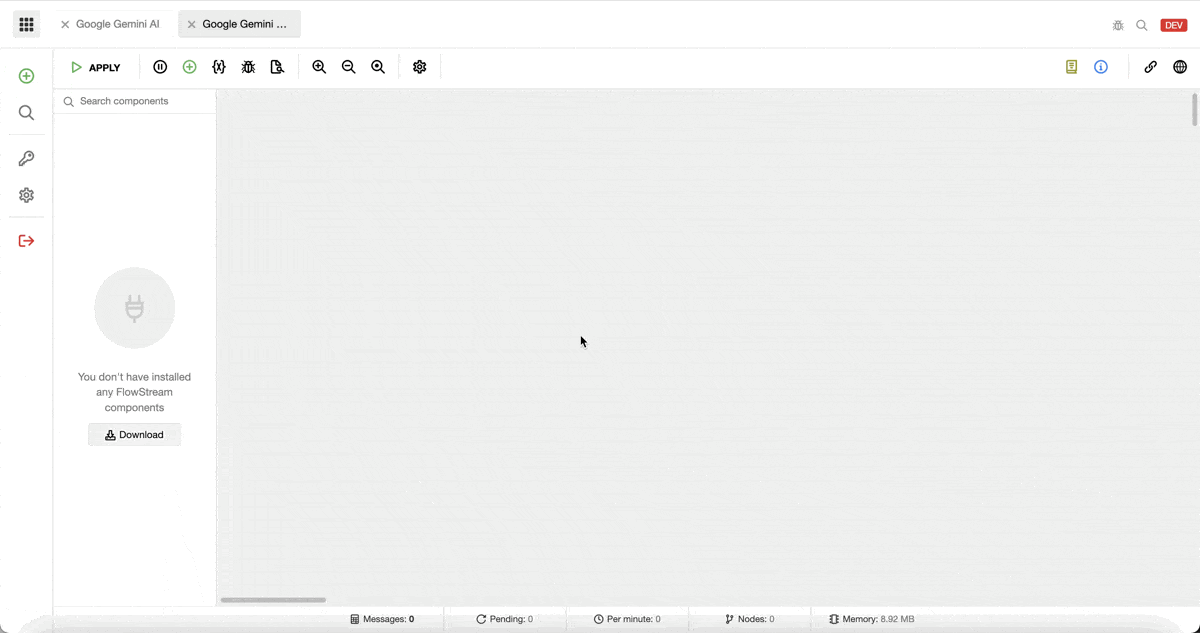
Now as you can see, there is already a predefined structure for Flow components. I will cut it into a few related units, to help you understand it.
General information
First of all, we can see here some general information, I will fill them in and then we can go through them step by step.
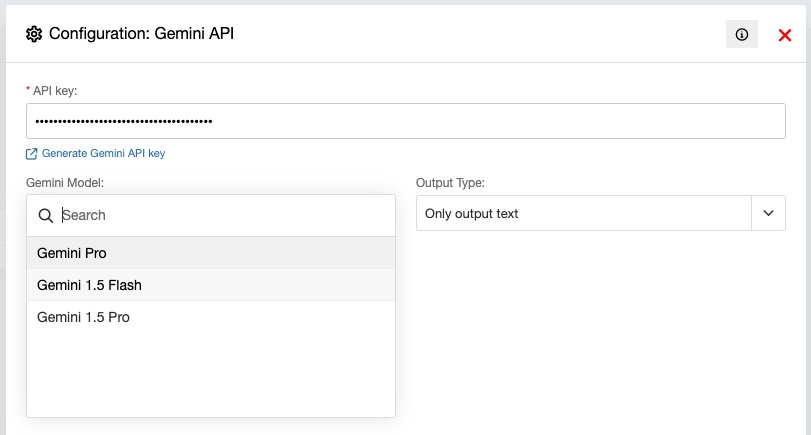
Above you can see that I filled in the id as geminiapi, where this value has to be unique for every component (if you accidentally use id from another component, that component will be replaced).
The name is basically the name of our component and icon, author, and version can tell you by their name what they are for.
The group is for sorting components in the left panel in the Flow application.
Config is very important, data defined in this object we will use later in the settings. Some things we do not want to hard code, but we want to be able to change them in component configuration. Then every component of Google Gemini API used in our Flowstream can have a different configuration with some default values. In our case, we want to be able to set apikey (it is indispensable, for API calls), model because we want to be able to change which model to use and output because we want to be able to choose if we want to have a full response on the output or only text (if it doesn’t make sense to you now, keep reading and in the next section you will understand).
Create functionality
As next we can see in predefined form of component exports.make function and instance.message function in it. It is all we need for our component. So this code, which will be explained below is all in the instance.message function.
Follow through the entire blog and at the end you will find a link to the GitHub repository with this component.
We will divide this function into three parts, but it is everything inside of the instance.message function.
First, what you can see here is, that we set our received data into a data variable for better handling.
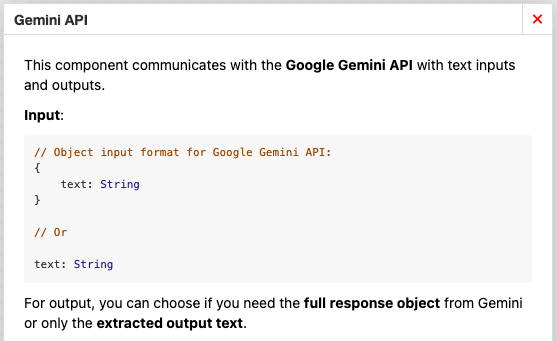
Then there are some conditions, basically, it is just to check if we have all the data we need. Of course, we need input data, we need apikey and then there is a condition, that will handle the processing of our input data and just like this, we can receive a string as input data or an object with text property. If some of these conditions are evaluated as true, with $.send function we will send a defined error message to the error output of the component.
This second part is just to modify input data into a structure, that can be handled by Google Gemini API based on their documentation. Nothing complicated.
This part can look too complicated, but in fact, it is a basic RESTBuilder with a POST method. There we have defined a URL address (based on Google Gemini API documentation) with a format function, for formatting our URL address with model and apikey. Next is our obj object with structured data for this API.
Then there is a header with data required from the API. Timeout is here for calls, that will take longer to get a response, so the value is higher than normal.
And the last is a callback, that will handle responses from Google Gemini API in case of a correct answer or even an error.
In this callback function, we can see two conditions. The first is for catching errors received from an API call. The second one is here for parse response from API to the form we want (defined in config). If we want to send only text to the output, the response will be as first check, if it includes data we need to parse, and then the response from API will be parsed and sent to the output with the function $.send. If we want to get a fully received response from API to the output, we will go through the else branch of our condition.
Settings
As you can remember, we added some config settings to our component. Now we have to create a form for a user, where they can set this configuration. This is basically a frontend code, which you will see when you double click on the component or choose Configure option in the menu.
We added there inputs for apikey, which is required, and camouflage with help information, where you have a URL address to the Google Gemini web for getting your API key. Then we have here a model with some predefined models from which you can choose (dropdown menu). The last part is output, also as a dropdown menu with options for Full response or Only output text (Functionality for this we coded before in this blog).
Readme
Readme is just a text, where you can put some information about your component, to help other people (or yourself :) ) to understand what is the purpose of that component.
Google Gemini AI component in use
Now we can create a simple example for this component. I will use only the Trigger component with the Print component alongside our component.
In the Trigger component I will send text: “Hello, how are you?” and we will see what we will get on the output.
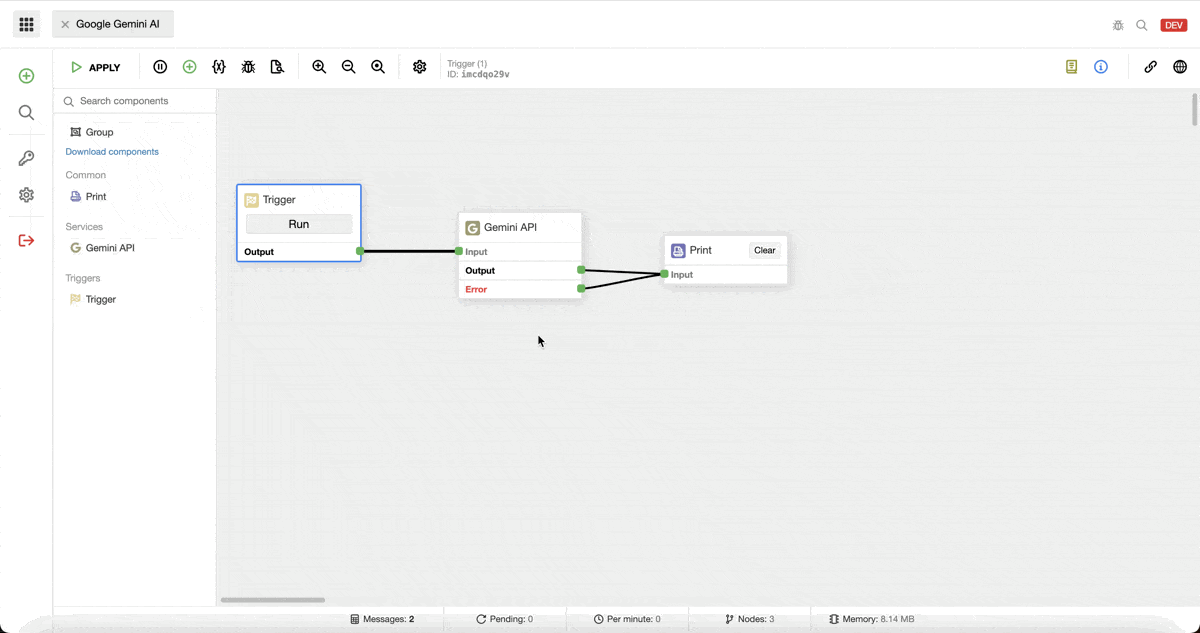
In the example, I used the Flow component with configuration settings, where the model is set to Gemini 1.5 Flash and output is set to Only output text.
You can find this code on my GitHub.
Conclusion
In this blog, we created a simple Total.js Flow component for communicating with Google Gemini AI.
This is all from this blog. I hope, that you learned here something new and that it will help you in your future coding.
Video part 1
Video part 2
Other posts from Total.js Platform
- 2026-04-01March report 2026
- 2026-03-02February report 2026
- 2026-02-02January report 2026
- 2026-01-02December report 2025
- 2025-12-15Totally Merry Christmas and a Happy New Year 2026!
- 2025-12-01November report 2025
- 2025-11-02October report 2025
- 2025-10-22New universal drivers for IoT Platform
- 2025-10-13IoT Platform Update: New Features and Enhancements
- 2025-10-01September report 2025