This blog continues the IoT platform setup by explaining how to install and run the Stream application, which collects incoming data from sensors. You’ll learn how to create a driver and device, secure the data with a token, and send real-time values to your platform using a simple API request.
This is a continuation of a series for the installation of the IoT platform. In the previous blog, we talked about how to install IoT platform application and in this blog, we will continue with the installation of stream application. In the next blogs, we will install OpenReports, Flow, and OpenPlatform, to show you, how you can use all these apps together, to get a great application to handle and analyze your data from diverse IoT devices.
If you haven’t heard about this application or you want to get more information, please read this blog about the IoT platform first or watch this video describing the IoT platform. Please, keep in mind, that this platform is part of Total.js enterprise.
Why do you need a stream application?
The stream application is used to capture incoming data. The domain on which the stream will be located will serve as the destination for the data sent from the sensors. Also by visiting the link, we can see a list of all devices along with statistics.
Installation of stream application
We will continue with the assumption that you followed the previous blog because this blog is a direct continuation of it. So if you haven't, please, go as first to this blog and then come back.
Download source code and install dependencies
In the previous blog, we downloaded the source code also for the stream application and we installed npm packages in our root directory, so now we can skip this part.
Connect database
Stream application works with same the database as the IoT platform. We prepared this database in our previous blog, so now we need just the connection string, to connect stream to this database. To do this, we have to go to the file config in the stream directory and update the database property with the connection string.

Stream installation
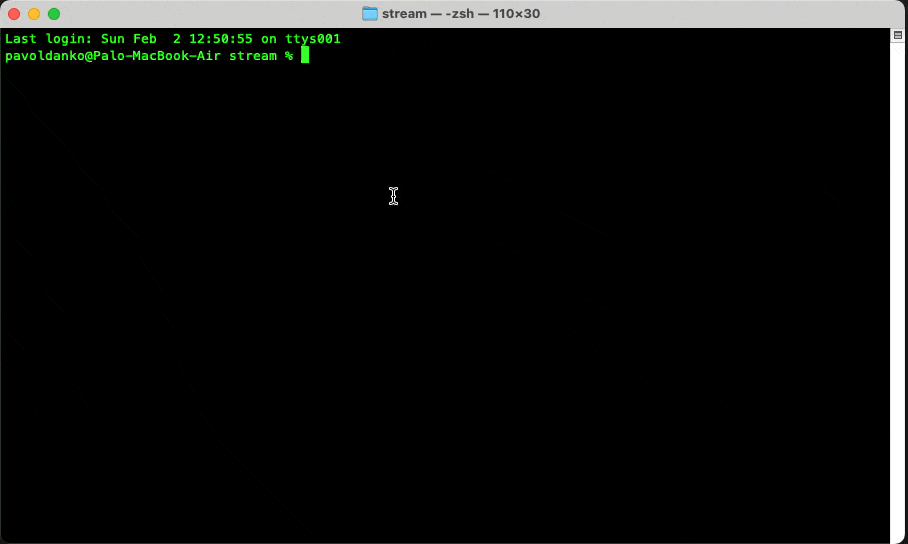
First, we have to move to the stream directory in our terminal.
In the stream directory, we can see file index.js. You can open this file and see there are some options for our application.
As we know from the previous blog, here we can change some options for our application. You can see, that I changed the port because the default port is 8000 and on this port, we already have an IoT platform running. So I chose to change port to 8001.
Now we can run this application from our terminal with the command (do not forget to be in the stream directory):
When we enter our url, when the stream is running, we can see some statistics about the stream. For now, only the database is connected to our stream.

Conclusion
This is all for stream installation and now I will show you, why we needed it and how you can use these applications together.
How it works
Now, when we prepare our IoT platform and stream, I can show you how it works. You will see how you can get data from some sensors into the platform.
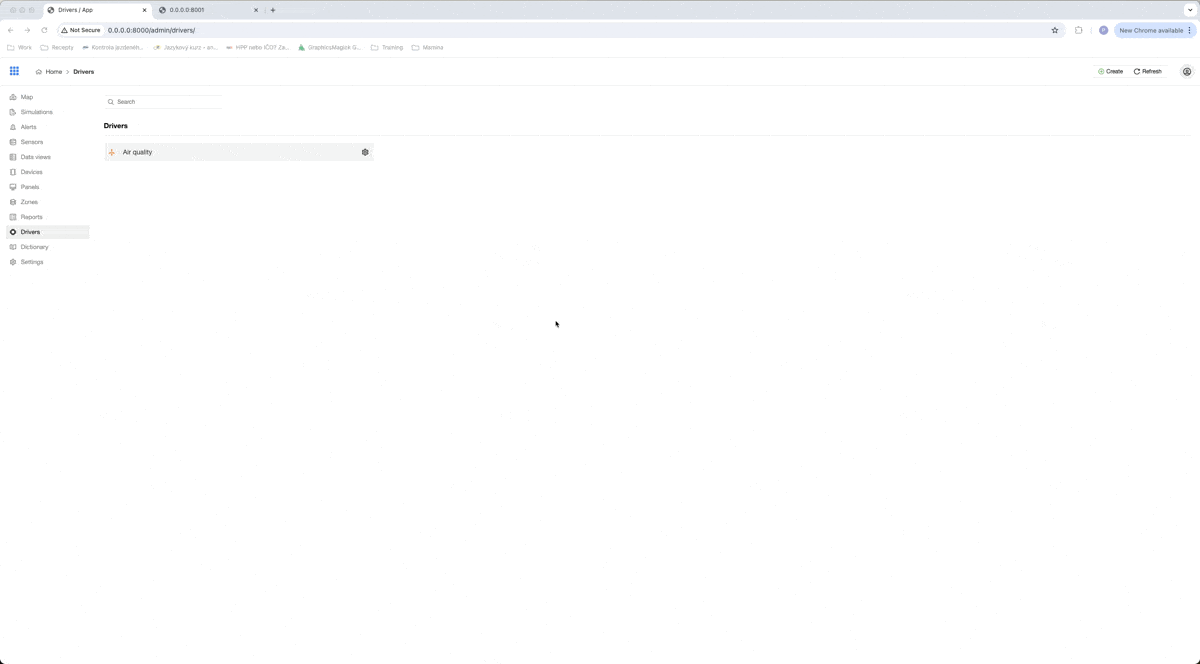
Create driver
The first thing we need to know is what data we can get from a device. Based on this, we will create a driver for this type of device. In our case, we will use the driver from the drivers directory, which we downloaded from GitHub. This driver is used for air quality devices, and in readme, we can see what data it can receive.
As you can see in a gif, our driver can process objects with data temperature, humidity, co2, tvoc, battery, and devEUI. devEUI is for the serial number of the device and it has to be different for every device of this type.
If you want to create a driver for your own special case, you can read more about creating a driver here, or you can use existing drivers as an example.
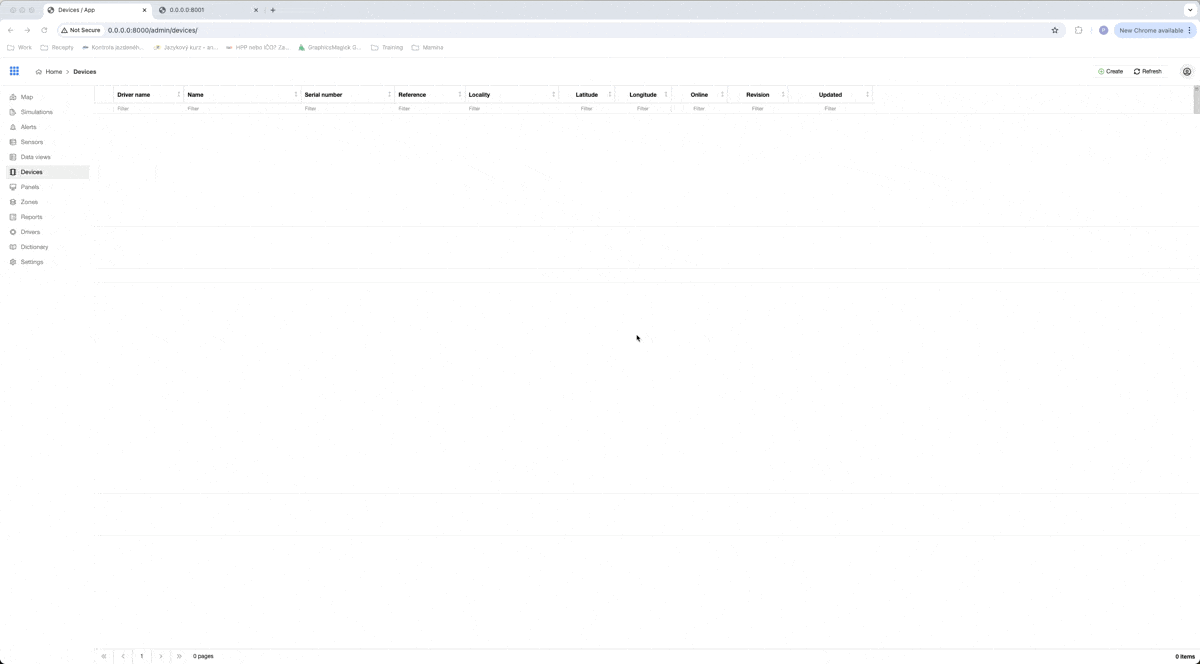
Create device
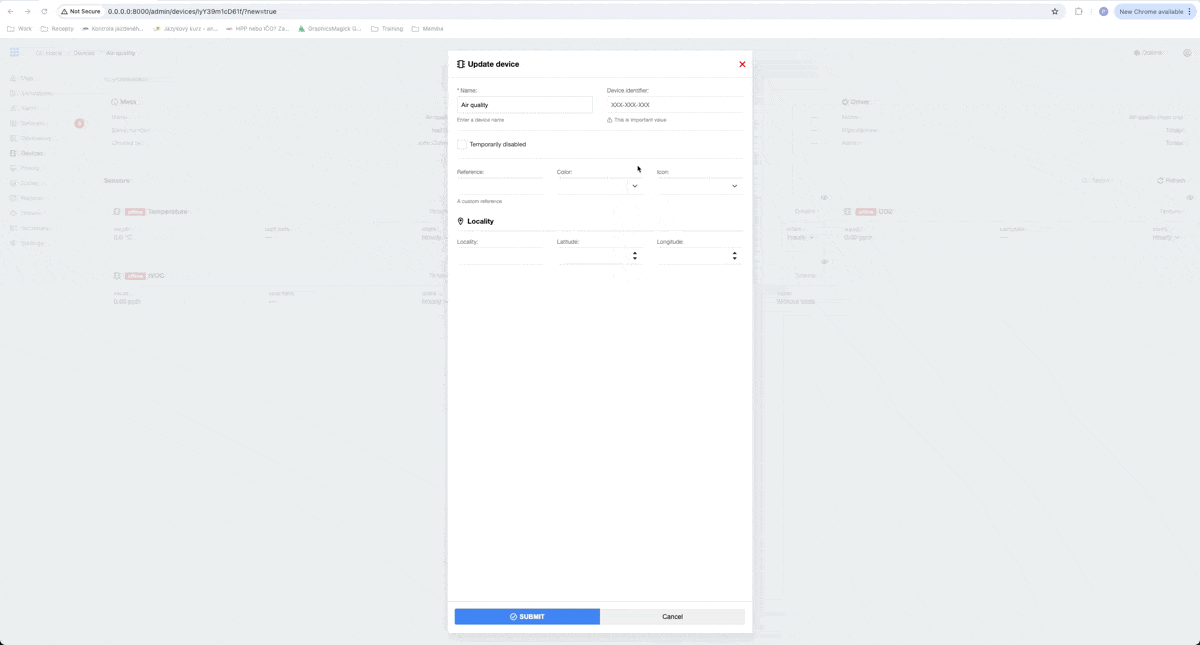
After creating a driver, we can create a device based on this driver. We can do that on the Devices page by clicking on Create and then we can choose the driver for a new device.
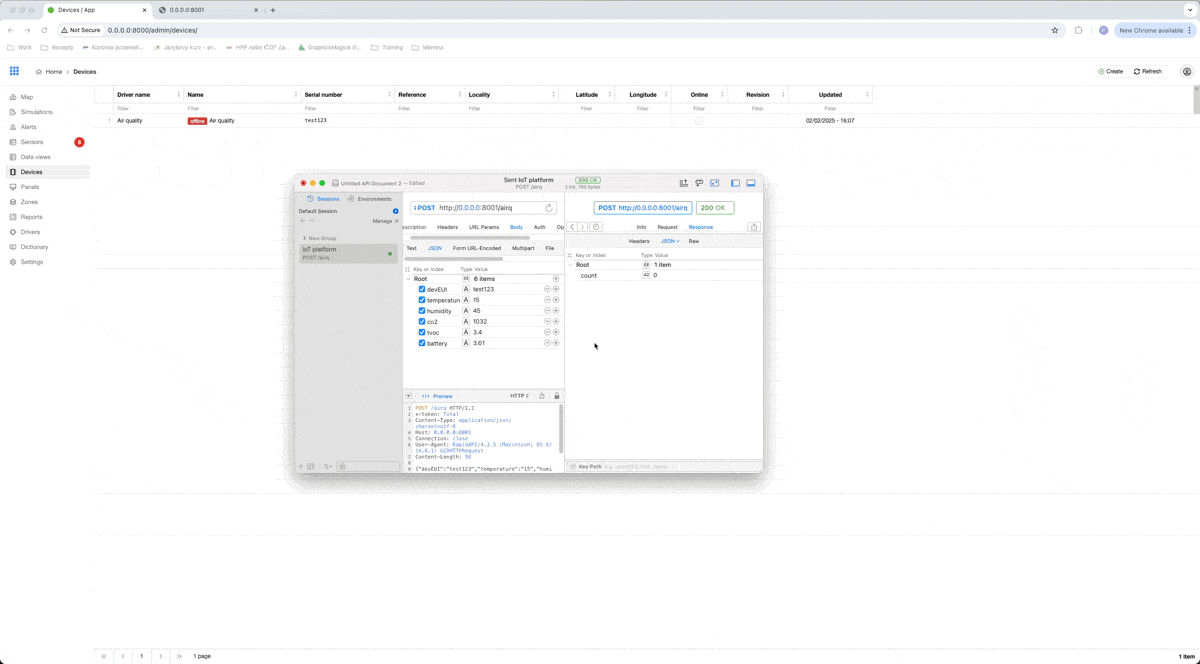
After that, we can fill in some information about our device. In our example, we will fill only the Device identifier, which is used to pair received data with the existing device. I choose, that our serial number for this example will be test123.
As you can see, all sensors for our device are made automatically after creating the device, because they are defined in our driver.
Also, when we check url of our stream, we can see, that a new device was registered.

Security check
To secure received data, the driver can be secured with a token. We will use this functionality in our example. In the driver we used is implemented checking x-token from the header of received data with the token. This token we can set for our driver in our platform, by clicking on settings in the driver menu.

As a value for a token, I used value Total.
Receiving data
In our example, I will send data to our platform with the RapidAPI app. When we want to create a request to send into our IoT platform, it has to contain a few things:
Url address
The url address is url of our stream application plus the endpoint for the driver of that device. So in our example, url address is http://0.0.0.0:8001/airq with the method POST.
Headers
As I wrote before, to secure our data, we have to add a token for checking, if data are coming from our device. In our case, we will use a header with the name x-token and with the value Total.
Data
And the last part of our request is data. Data are in JSON format like this:
When we send this request, our sensors will go from offline state to online state and we can see actual values received in our IoT platform.
That is all to this blog. Now you are able to install an IoT platform and stream, you can create a driver, and a device and receive data from your IoT device. There is a lot more that you can achieve with this platform and I will show you some basics in upcoming blogs.
I hope you learned something new with this blog and I will happily share with you more knowledge about Total.js.
Video:
Other posts from Total.js Platform
- 2026-04-01NEWMarch report 2026
- 2026-03-02February report 2026
- 2026-02-02January report 2026
- 2026-01-02December report 2025
- 2025-12-15Totally Merry Christmas and a Happy New Year 2026!
- 2025-12-01November report 2025
- 2025-11-02October report 2025
- 2025-10-22New universal drivers for IoT Platform
- 2025-10-13IoT Platform Update: New Features and Enhancements
- 2025-10-01September report 2025