This blog shows how to install the Total.js IoT platform step by step, including setting up the database, downloading the code, and running the application. It’s the first part of a series that explains how to build the full platform by adding components like Stream, OpenReports, Flow, and OpenPlatform.
We got some questions about how to install this platform, so I decided to write you a blog about it, with step by step guidance. I will divide this blog into more parts. In this first, we will talk about installing the IoT platform, in the next one we will install stream, then OpenReports, and Flow, and the last part will be installing OpenPlatform and connecting it all in one.
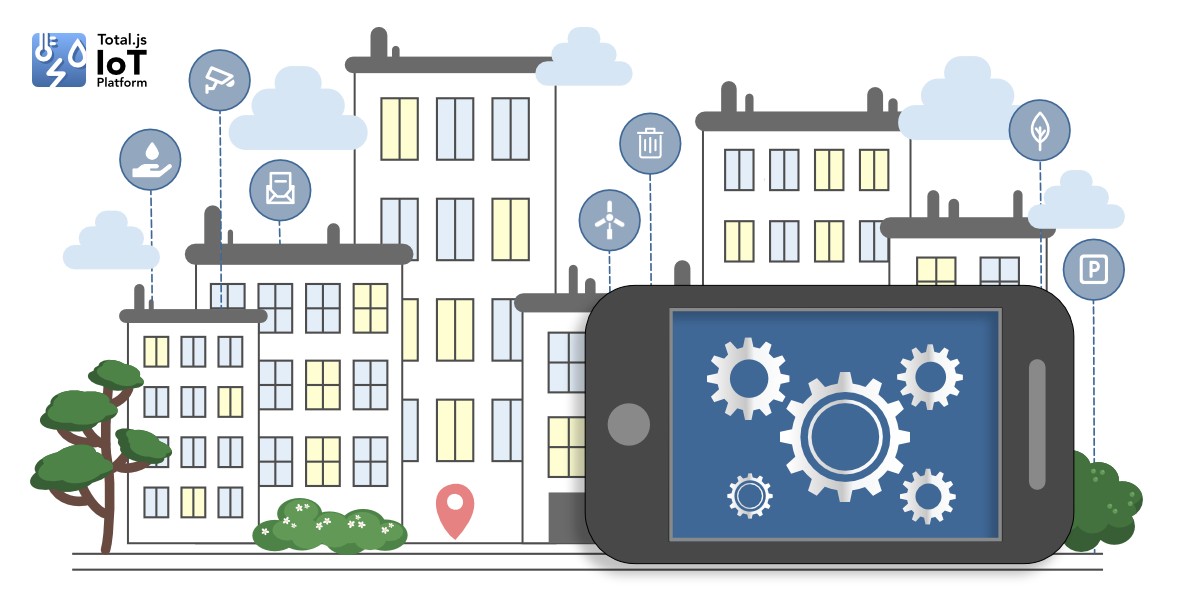
Now maybe you are asking what it even is an IoT platform. If you haven't heard about this application or you want to get more information, please read this blog about the IoT platform first or watch this video describing the IoT platform. Please, keep in mind, that this platform is part of Total.js enterprise.
Our recommendation of versions for use are:
- PostgreSQL v15 +
- Node.js v18+
- Total v5
I start from the assumption, that you already have installed your PostgreSQL database and Node.js. There are already many tutorials to do this, so we will focus only on installing the IoT platform and connecting it with the database.
IoT platform
We will divide this part into smaller parts for easier orientation.
Download
First, we have to download our code from GitHub (I will not share a link here, because you have to be part of Total.js Enterprise to have access there) and save it into your folder.
I want to work in the folder IoT, so I opened a terminal in this folder and I used the command:
Install dependencies
In this case, both applications (IoT platform and stream) need to install npm packages total5 and querybuilderpg. You can do that in their separate folders with the command:
But when we need it for both applications, we will install it in the root application with the command:
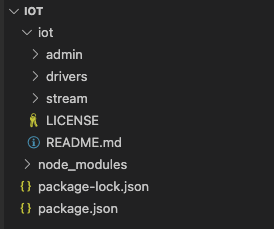
Now, when we prepared our npm packages, our directories can be organized like this:
Create database
Before installing the IoT platform, we have to prepare our database. In the admin folder, we can find the file database.sql. This is the script, which will create all our table structures for application. So we have to run this code in the database.
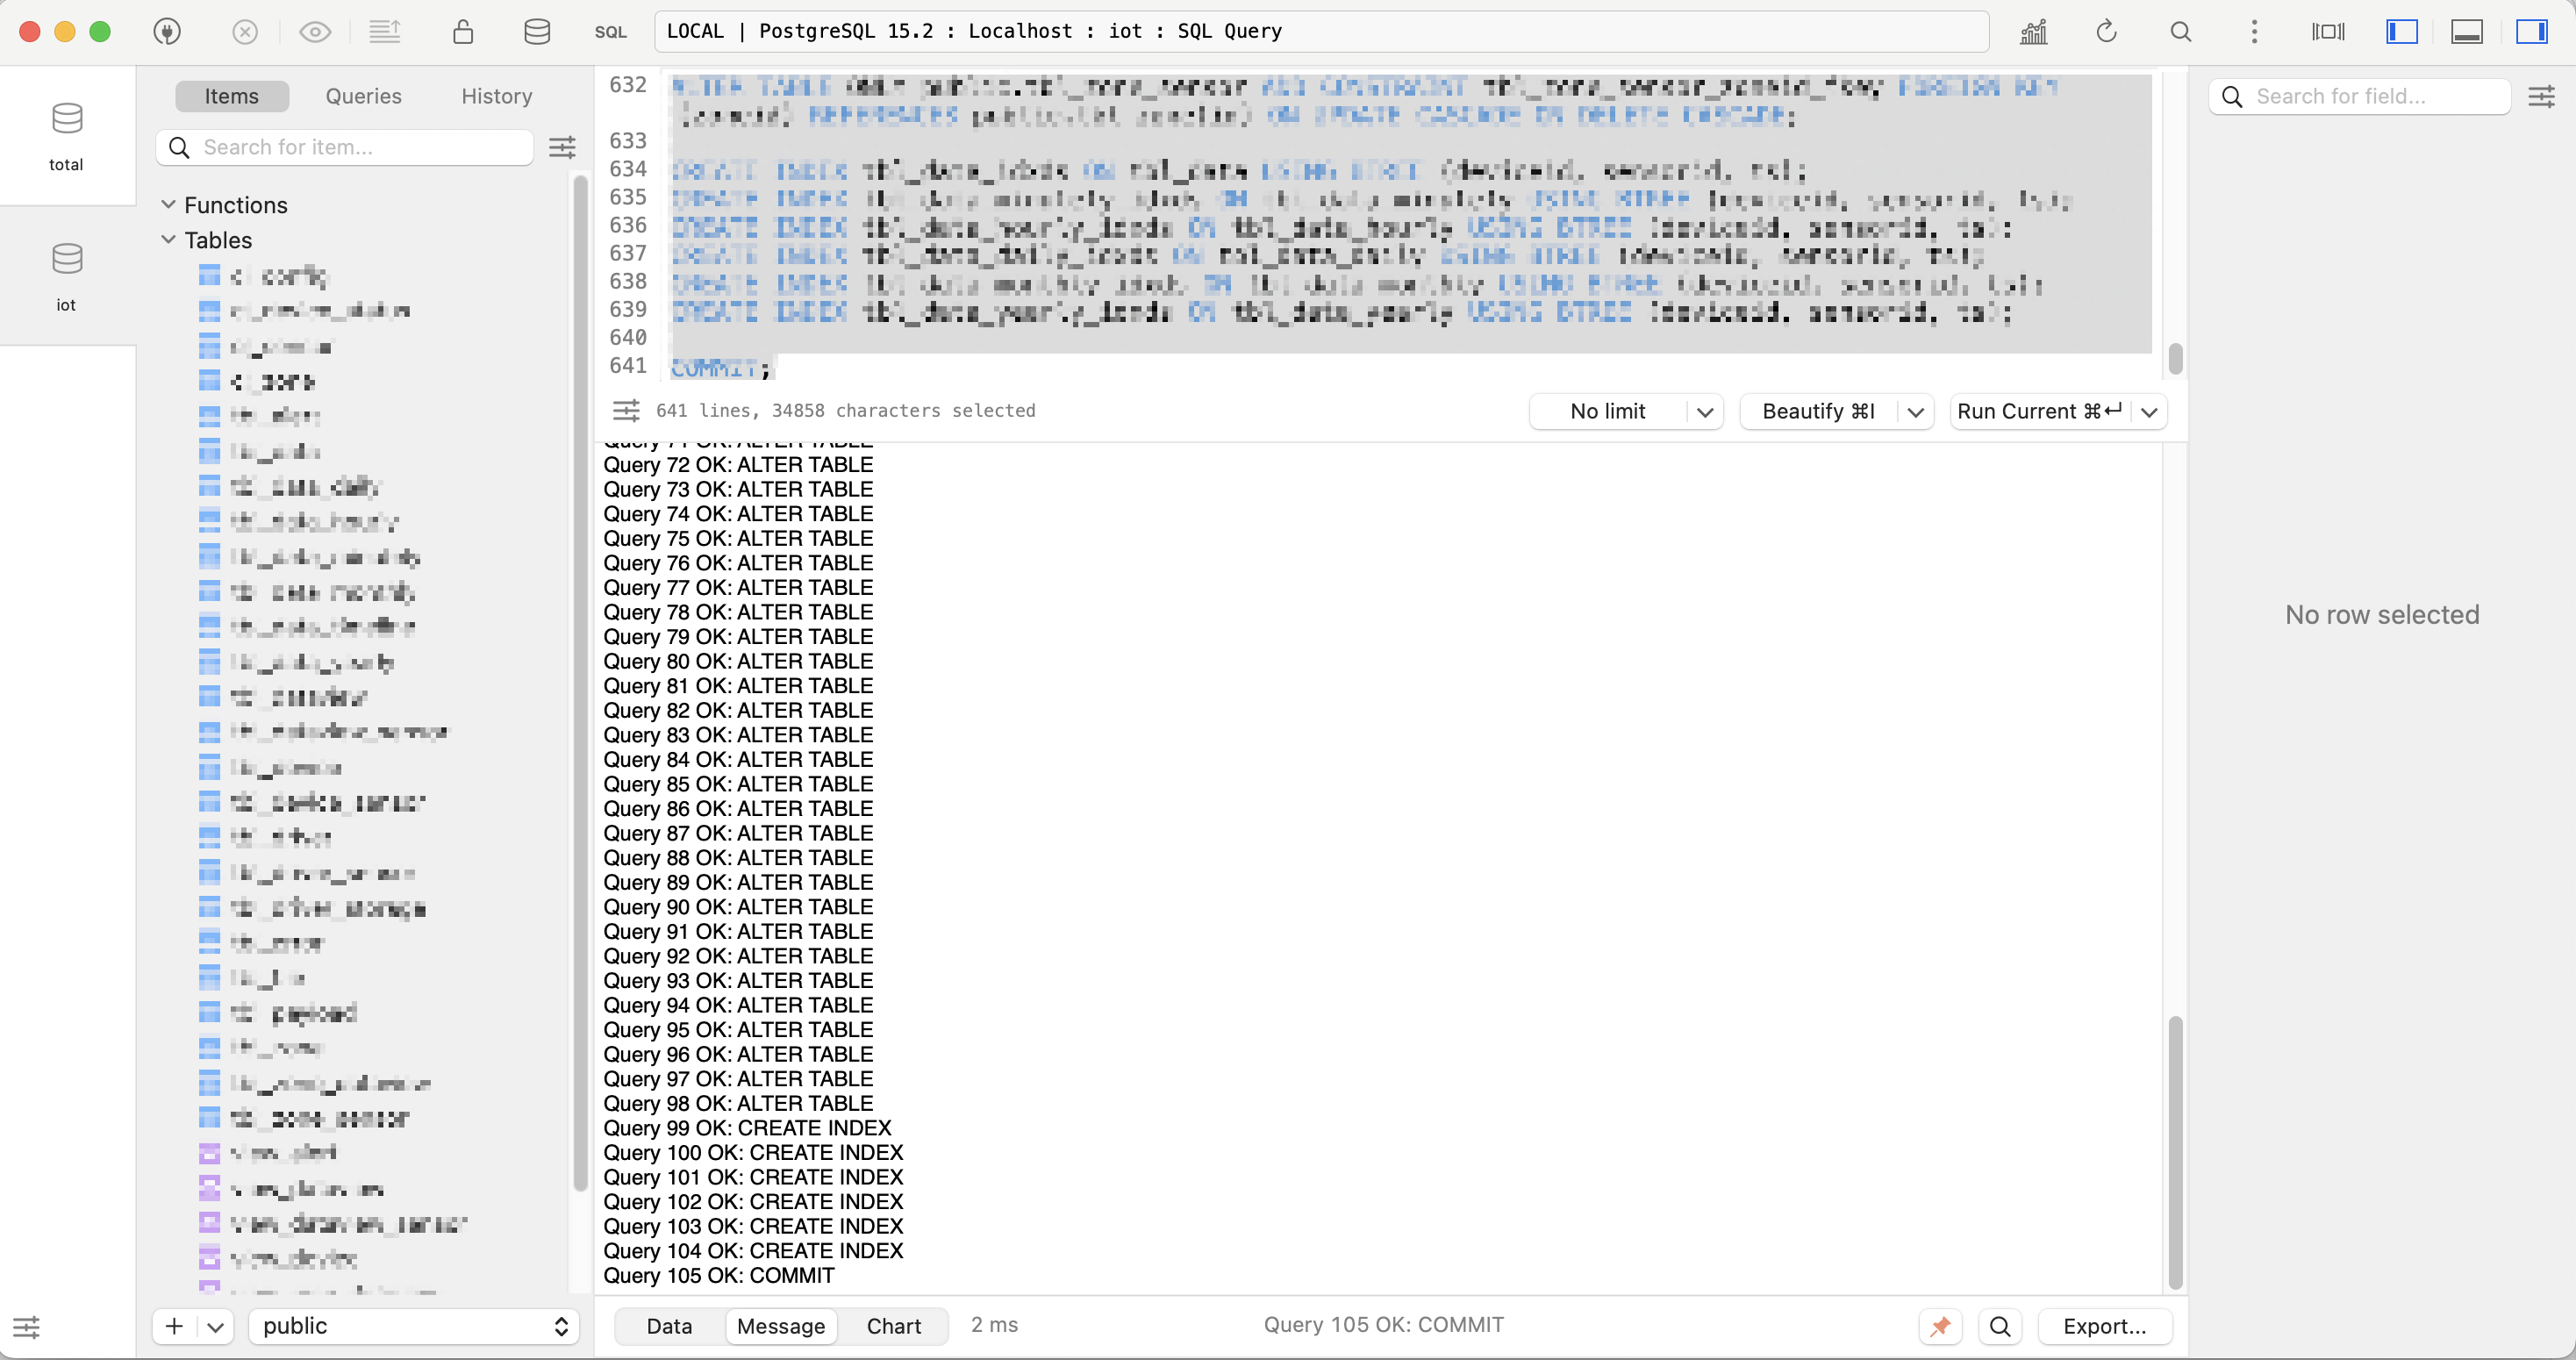
After running this script, we can see that everything is done and our database is prepared.
To connect the IoT platform with this database, we have to open the file config in the admin directory and update the database with the connection string.

IoT platform installation
First, we have to move to the admin directory in our terminal.
In the admin directory, we can see the file index.js. You can open this file and see there are some options for our application.
For example, the default port to start an application is 8000, so if you want to change it, you can do it here. I will continue with the unchanged file because I want to start my application like this.
Now we can run this application from our terminal with the command (do not forget to be in the admin directory):
Login to the IoT platform
We can now open url from our terminal in a browser.

As you can see, we got an Unauthorized 401 error. To log in we have to add endpoint /admin to our url, so the full url will be in our case http://0.0.0.0:8000/admin.
After entering this endpoint, we are redirected to the login form. Here we can fill sign-in form with default credentials and enter the application. After entering the application you can change credentials to your preferences by clicking on the account icon and choosing the Change credentials option from the menu.
Conclusion
This was the first part of the IoT platform installation. We got an IoT application installed and you can now use everything in it. But to get your data to this application, you have to also install the stream application. Because that is the application, that will catch requests and save new data in to database.
In the next blog, we will continue with stream installation and I will show you how you can send data to your stream and get them to your IoT platform for further processing and analysis.
I hope you learned something new with this blog and I will happily share with you more knowledge about Total.js.
Video
Other posts from Total.js Platform
- 2026-04-01March report 2026
- 2026-03-02February report 2026
- 2026-02-02January report 2026
- 2026-01-02December report 2025
- 2025-12-15Totally Merry Christmas and a Happy New Year 2026!
- 2025-12-01November report 2025
- 2025-11-02October report 2025
- 2025-10-22New universal drivers for IoT Platform
- 2025-10-13IoT Platform Update: New Features and Enhancements
- 2025-10-01September report 2025