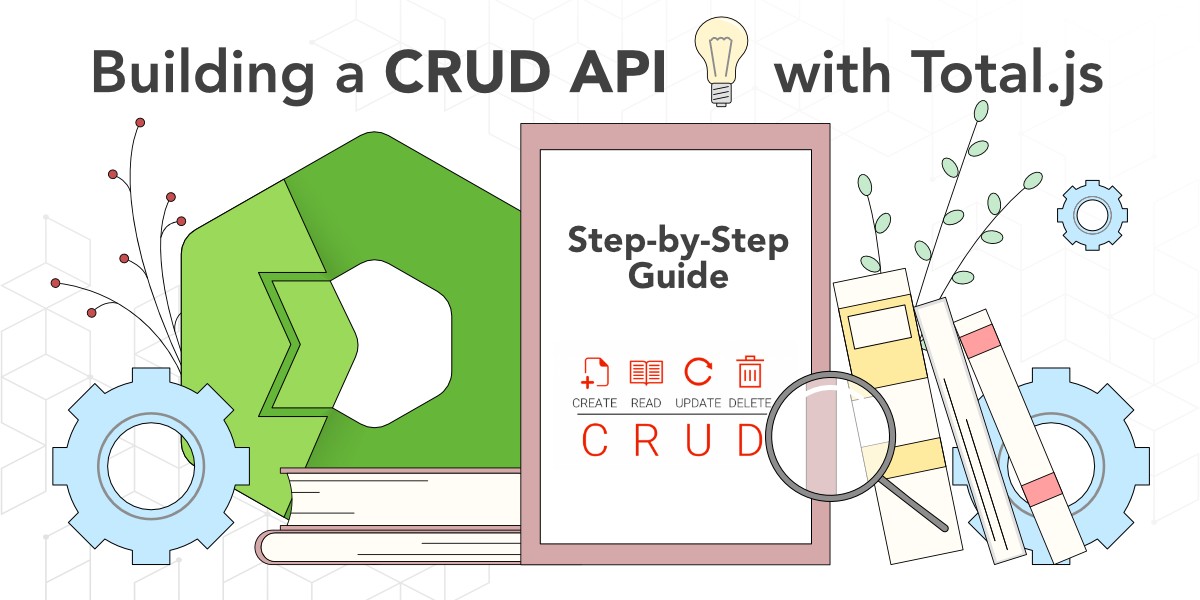
Discover the power of Total.js, a robust web application framework for Node.js, through this step-by-step guide to building a CRUD (Create, Read, Update, Delete) API. Learn the essentials, from setting up the project and defining API routes to creating a 'Books' schema and testing the API. The post also dives into testing API routing for WebSockets, providing a comprehensive resource for Total.js enthusiasts. Explore the additional documentation for in-depth insights into API routing mechanisms.

Building a CRUD API with Total.js: A Step-by-Step Guide
Total.js is a powerful web application framework for Node.js, providing an excellent foundation for building robust APIs. In this tutorial, we'll guide you through the process of creating a CRUD (Create, Read, Update, Delete) API for managing a collection of books using Total.js.
Table of Contents
- Prerequisites
- Setting Up the Project
- Defining API Routes
- Creating the 'Books' Schema
- Testing the API
- Testing API Routing for WebSockets
- Additional Resources
1. Prerequisites
Before we start, make sure you have Node.js and npm installed on your machine. You can install Total.js by running:
2. Setting Up the Project
Create a new file named index.js in your project folder and add the following code to enable debugging:
3. Defining API Routes
Now, let's define the routes for our CRUD operations. In the controllers/api.js file, set up the standard RESTful routing and additional conventions for API routing:
4. Creating the 'Books' Schema
Define the schema for the 'Books' entity in the schemas/books.js file. This schema will include actions for querying, reading, inserting, updating, and removing books:
5. Testing the API
Now that our API is set up, it's time to test it. Start your application by running:
You can then use tools like Postman or cURL to interact with your API and perform CRUD operations on the 'Books' entity.
6. Testing API Routing for WebSockets
With Total.js, testing WebSocket functionality is made easy. The framework allows you to test API routing for WebSockets using messages. Here's an example WebSocket message that you can use for testing:
Message Components:
- TYPE: Indicates that this is an API-related message.
- callbackid: A custom callback ID that will be returned back in the response.
- data: Contains information about the API request.
- schema: Specifies the schema name and dynamic arguments along with query parameters.
- data: An object containing additional data for the API request.
Example Usage:
- Connecting to WebSocket:
Use a WebSocket client or tool to connect to the WebSocket endpoint of your Total.js application.
- Sending the WebSocket Message:
Send the provided WebSocket message to the server. Make sure to replace placeholders such as CUSTOM_CALLBACK_ID, schema_name, {dynamic_arg_1}, {dynamic_arg_2}, and arguments with actual values.
This example message is querying the books_read schema for a book with the ID 123456789 and includes a search query parameter.
- Receiving the Response:
The server will process the WebSocket message, execute the corresponding API route, and send a response back. Look for the response, including the custom callback ID, to verify the success of the API routing.
By following this approach, you can effectively test and debug your WebSocket-based API routes in Total.js.
Additional Resources
For a comprehensive understanding of Total.js API routing mechanisms and features, refer to the official Total.js documentation
This documentation provides in-depth insights into:
- Standard RESTful routing
- API routing conventions
- WebSocket routing using various notations
- Handling WebSocket messages for API Routing
Explore the documentation to enhance your knowledge and leverage the full potential of Total.js for building powerful and scalable APIs.
Conclusion
Congratulations! You've successfully created a CRUD API using Total.js. This simple yet powerful framework allows you to build scalable and maintainable APIs with ease.
Feel free to customize and extend this project according to your specific requirements. Happy coding!
Other posts from Total.js Platform
- 2026-01-02December report 2025
- 2025-12-15Totally Merry Christmas and a Happy New Year 2026!
- 2025-12-01November report 2025
- 2025-11-02October report 2025
- 2025-10-22New universal drivers for IoT Platform
- 2025-10-13IoT Platform Update: New Features and Enhancements
- 2025-10-01September report 2025
- 2025-09-05How to create Google Gemini AI component in Total.js Flow
- 2025-09-01August report 2025
- 2025-08-25IoT platform — Total.js

